Book Arts in Tonga part 3: The Finished Books
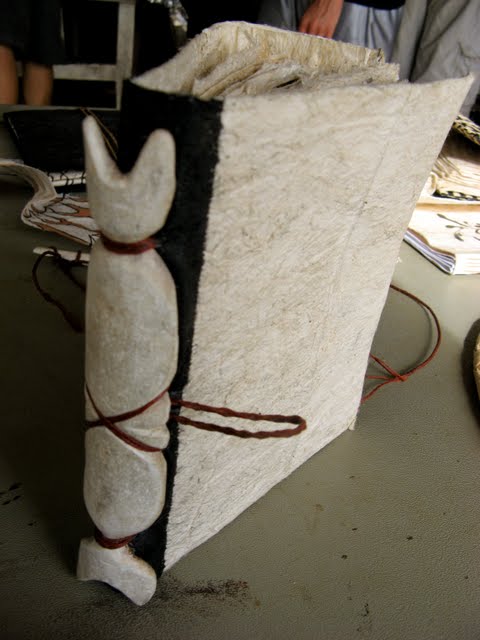
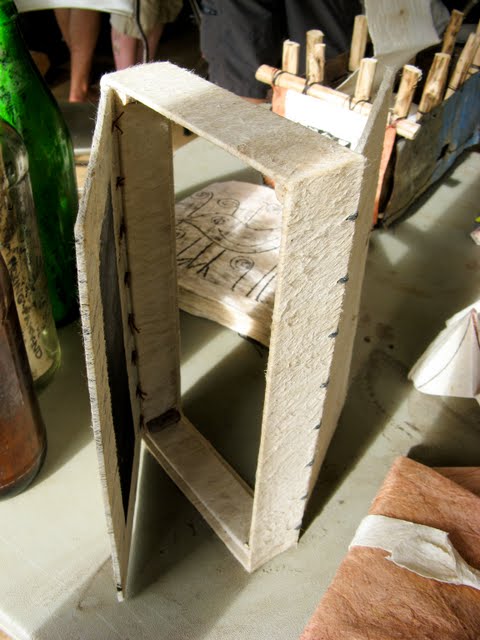
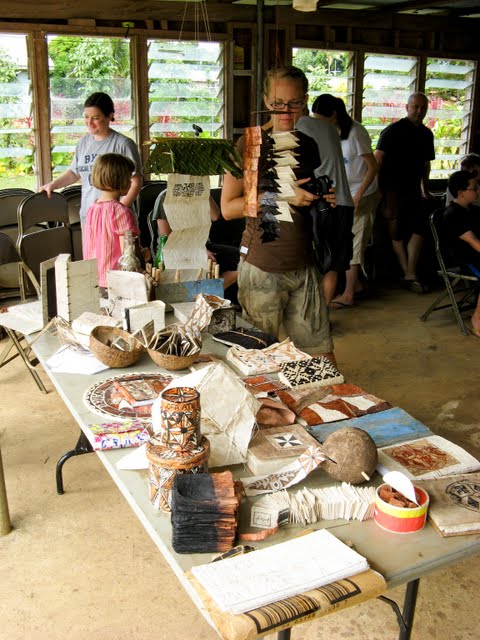
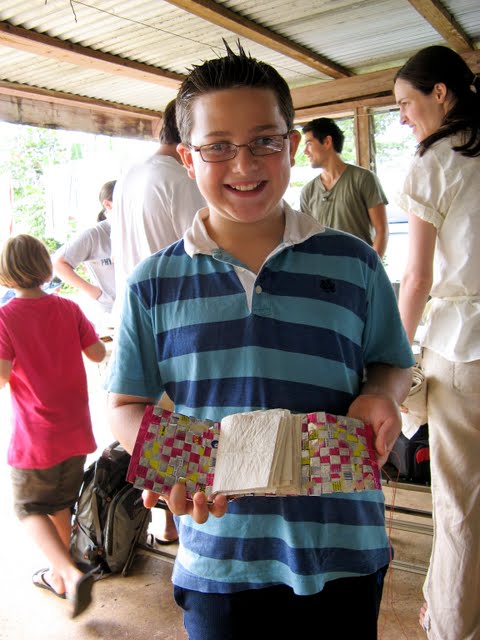
At the end of the week-long workshop, we enjoyed a traditional Tongan feast and put out our finished (and our not-yet-finished) books for a bit of show and tell. (Some of us–me, cough– didn’t finish until after returning home, but here’s where we were at the end of the final day):
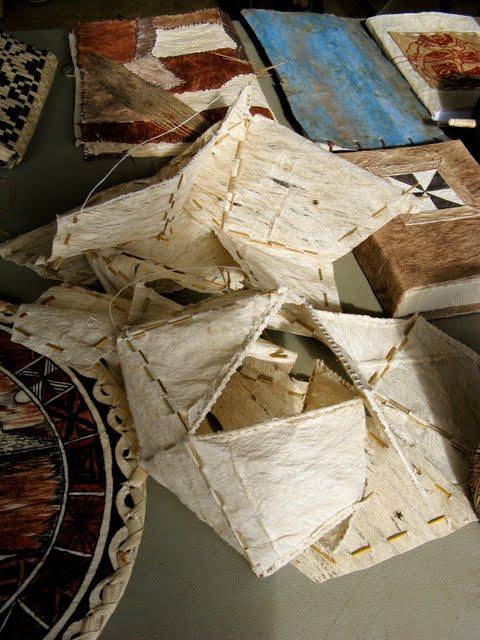
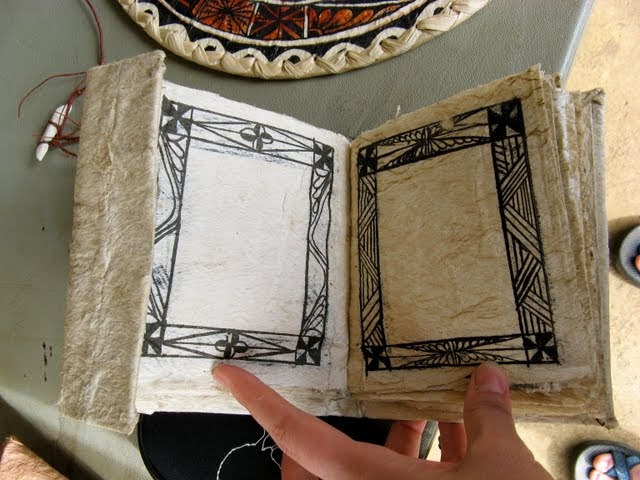

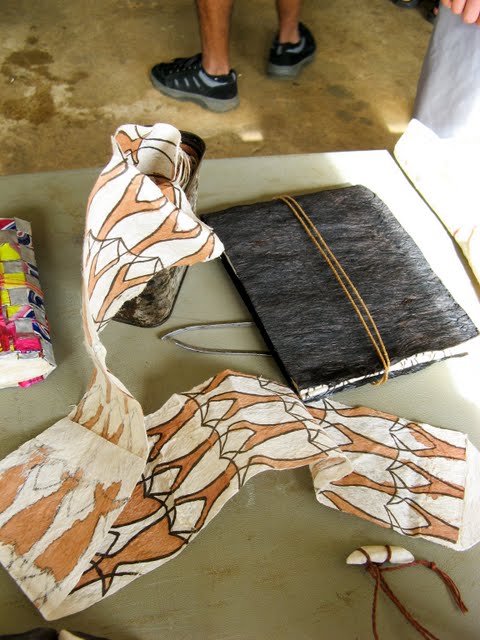
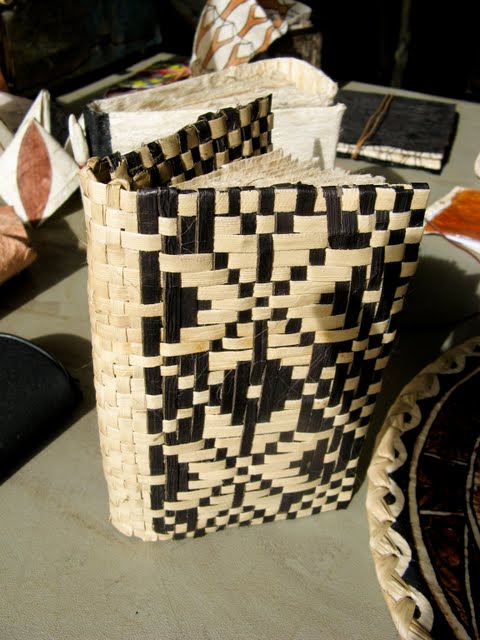
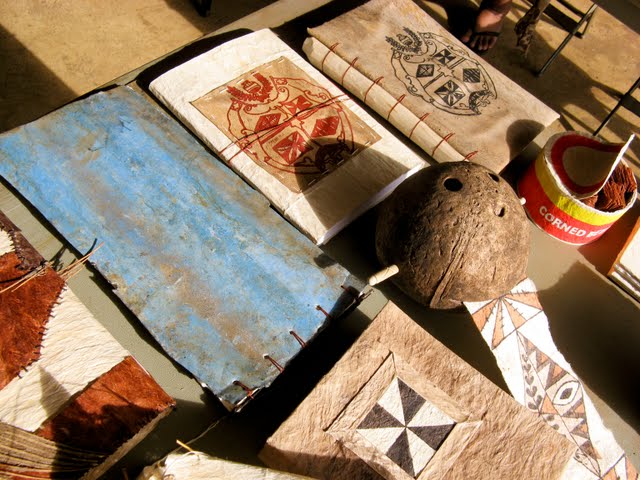
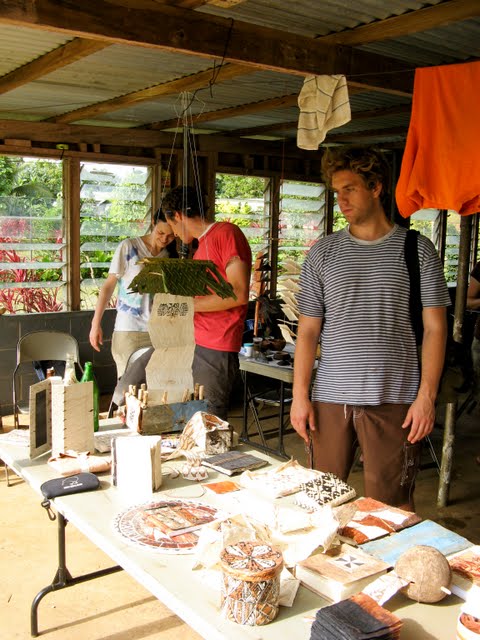
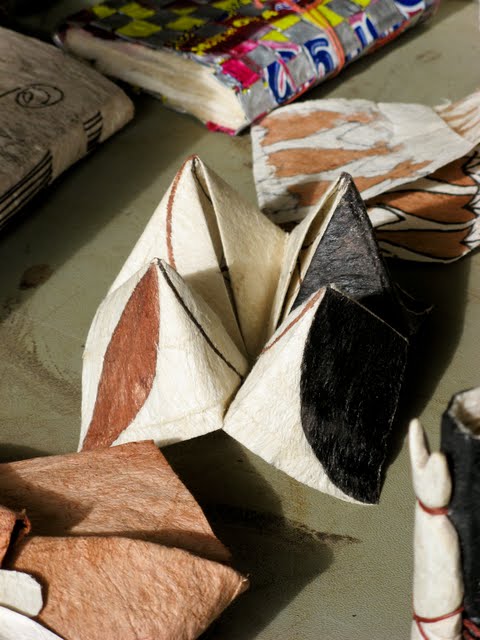
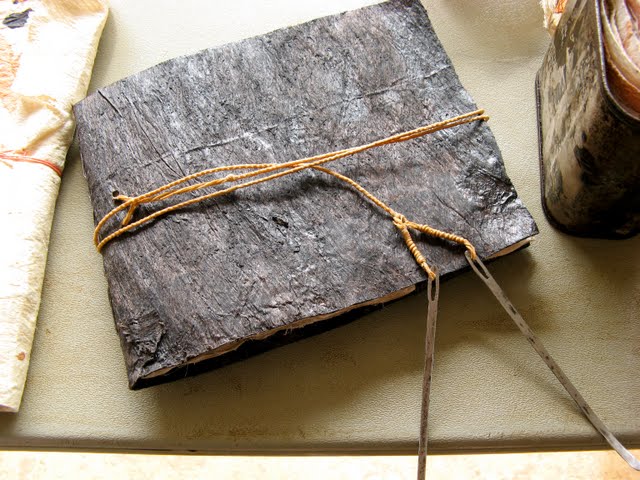
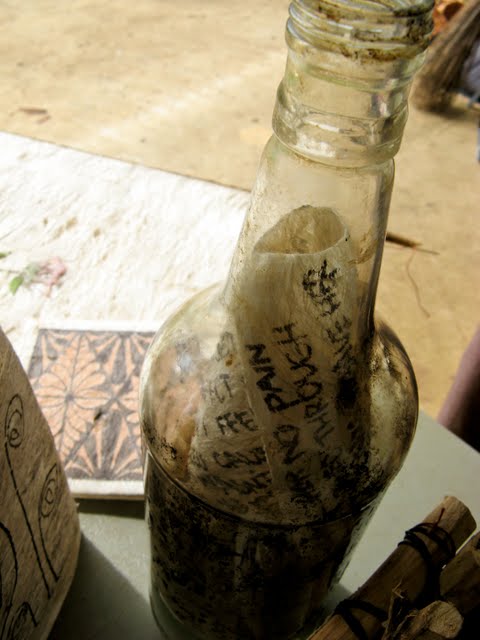
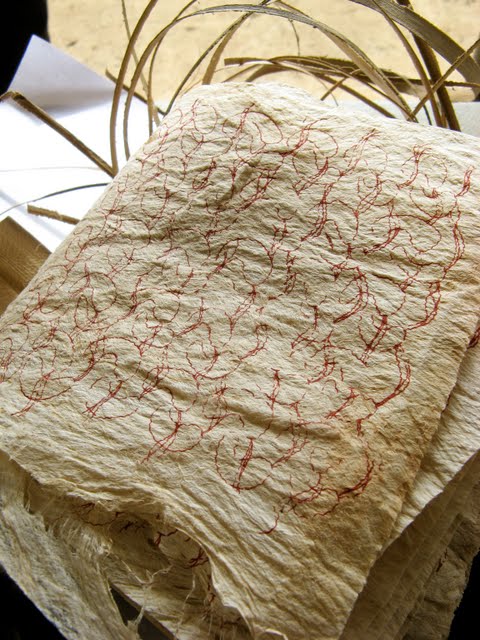
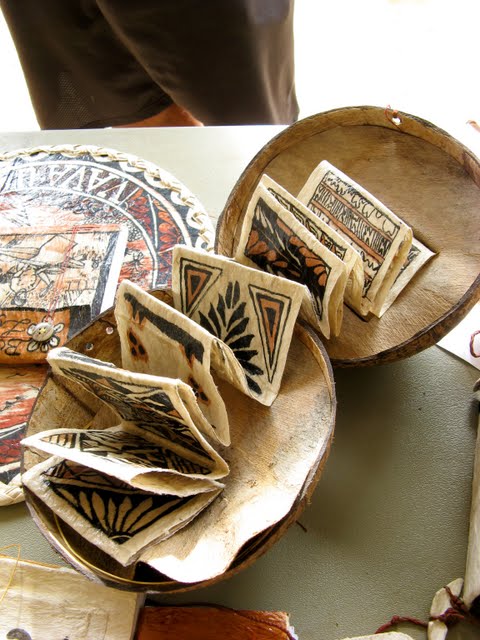
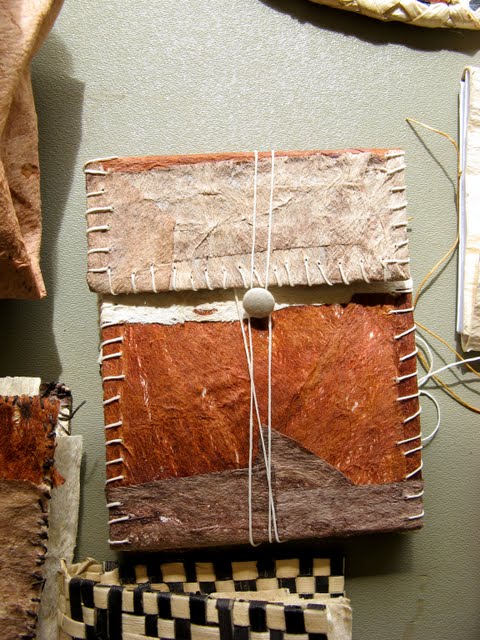
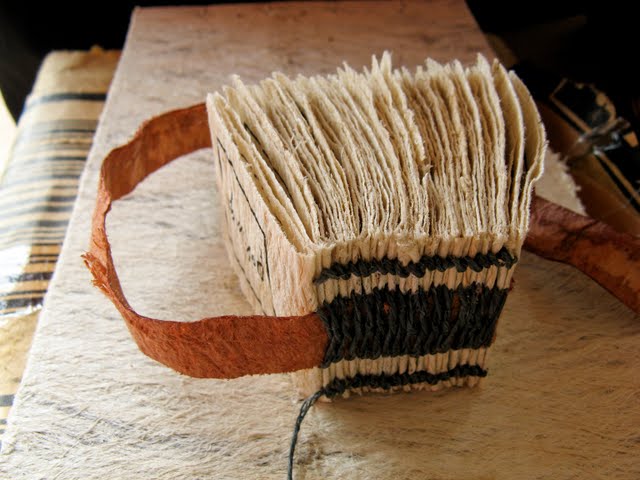

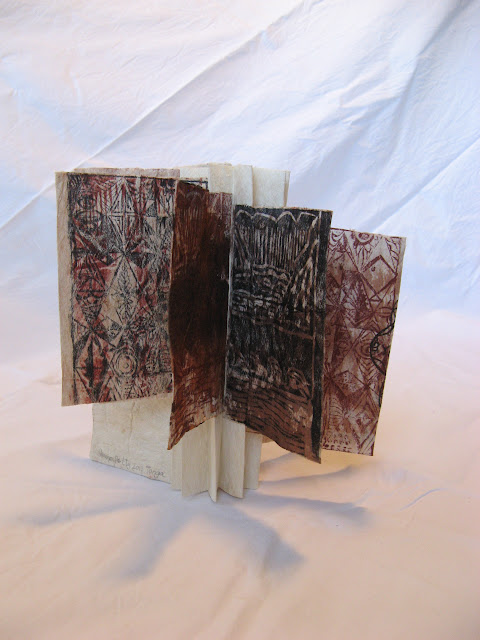
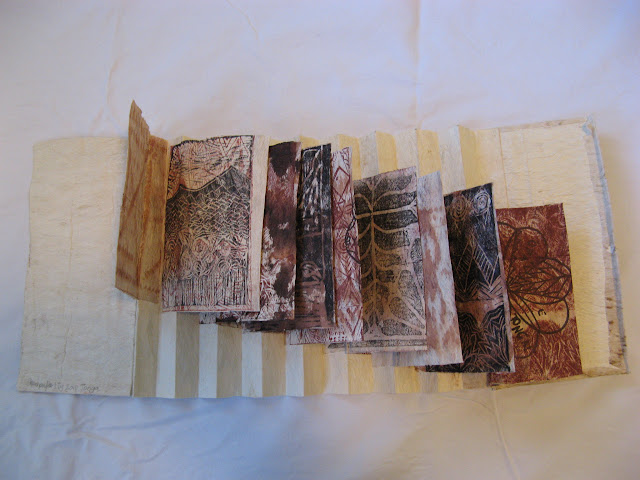
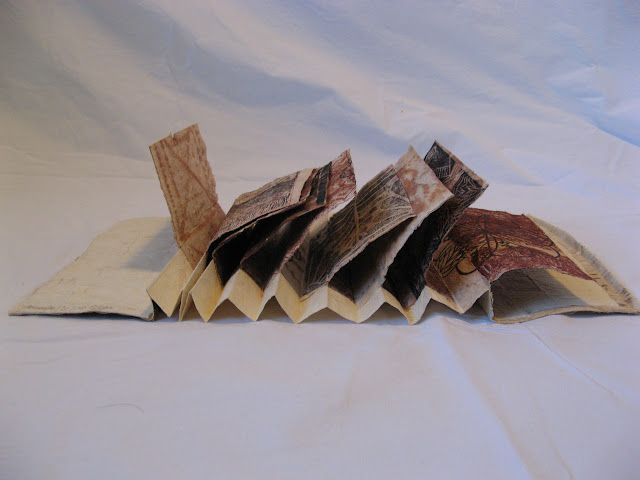
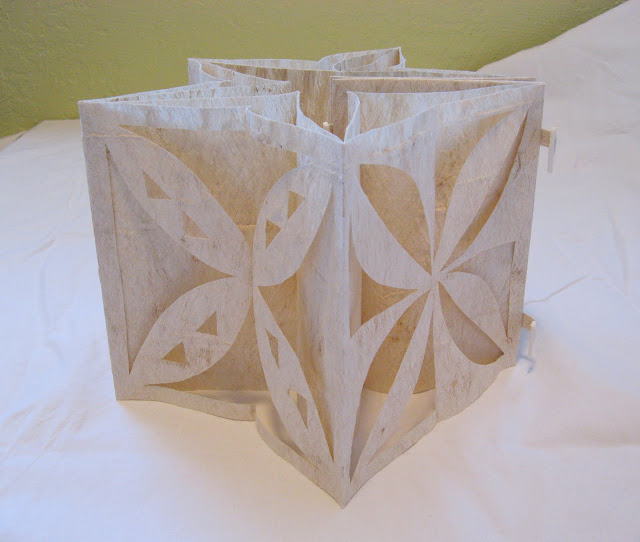
And here’s my finished book:
Book Arts in Tonga part 1 / part 2 / part 3 / part 4
Joe is working to get some exhibitions of the show put together, hopefully internationally. I’ll keep you updated with what happens with the show.
Update: The project now has a website with studio photographs of much of the work:
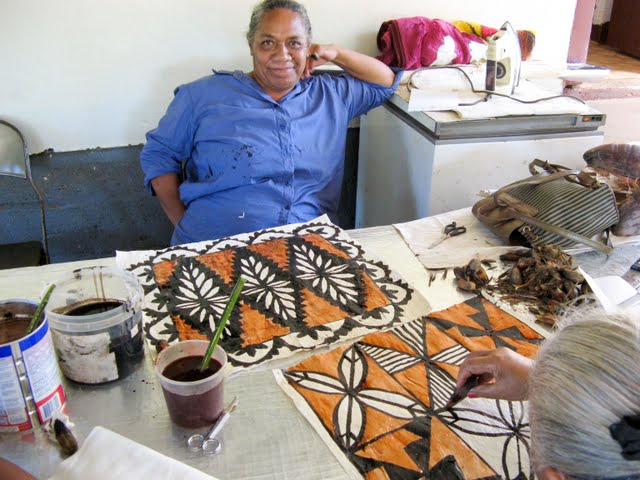
Once we had made the tapa cloth and the koka dye, we had a bit of instruction on Tongan design, then three of us from the group gave a basic bookbinding demo. Next, we were shown some printmaking techniques, and finally we set to work to create our own books.
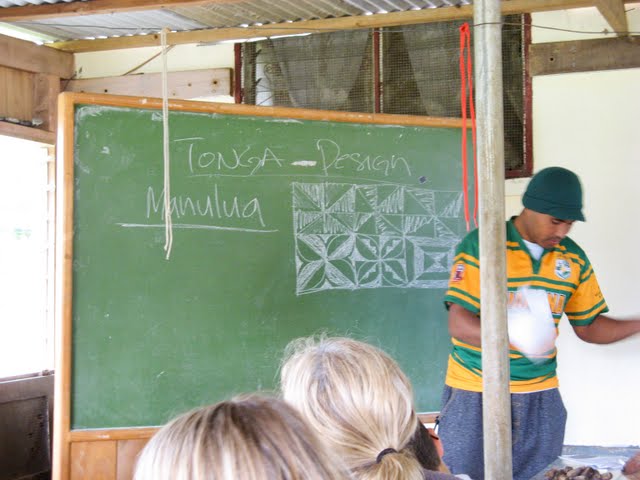
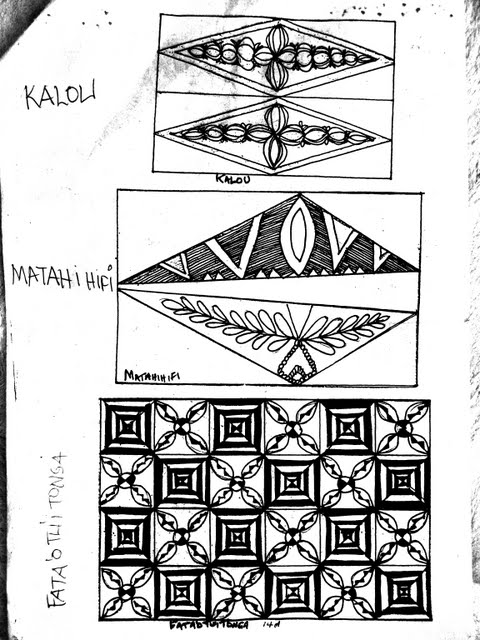
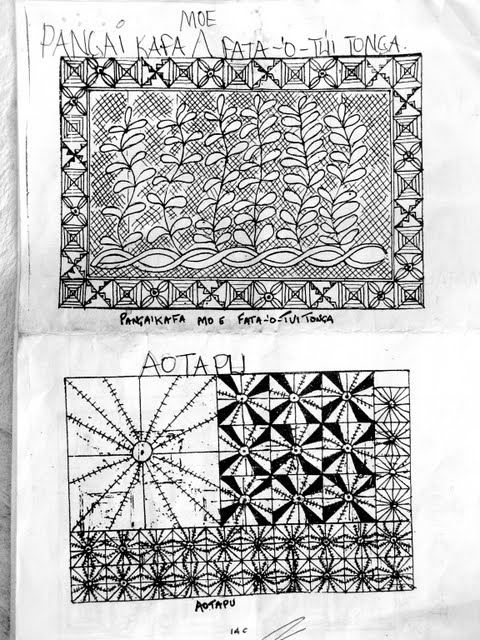
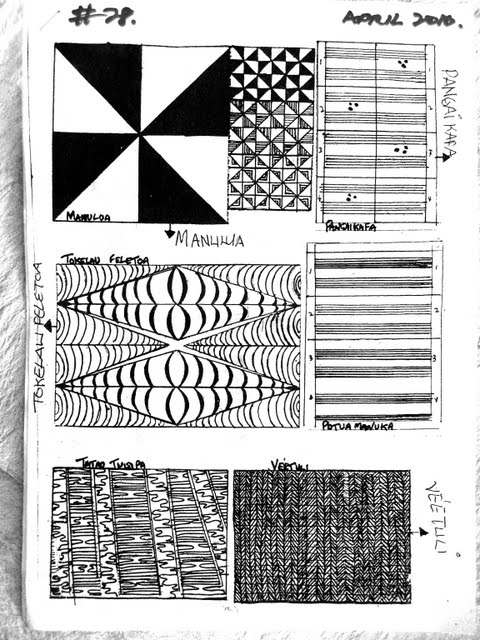
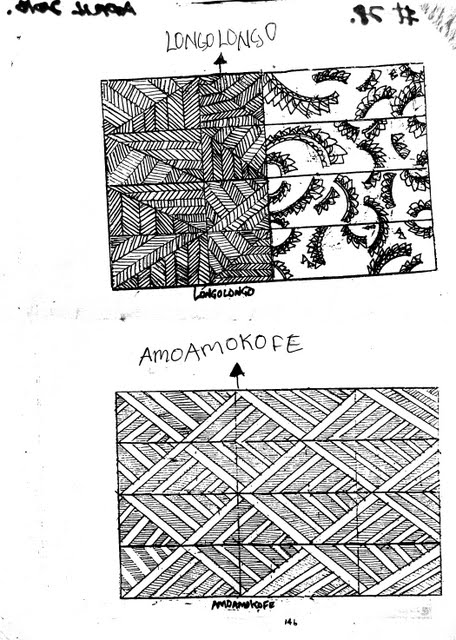
I am sad to say I don’t remember our Tongan art instructor’s name. But he showed us the basic principles behind Tongan design and their names. The sketches below are his. Each design/ pattern has its own name.
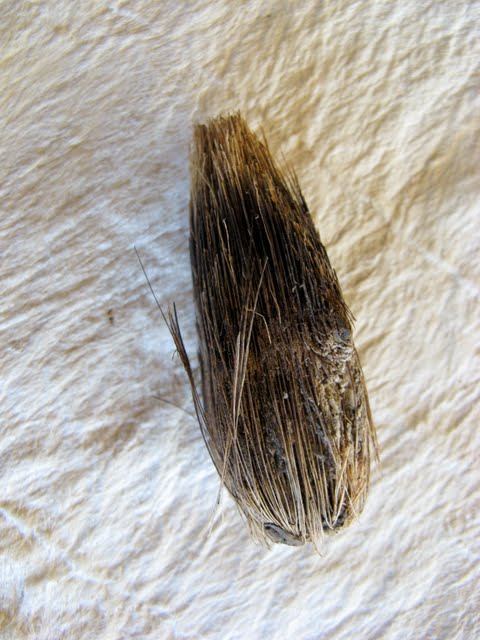
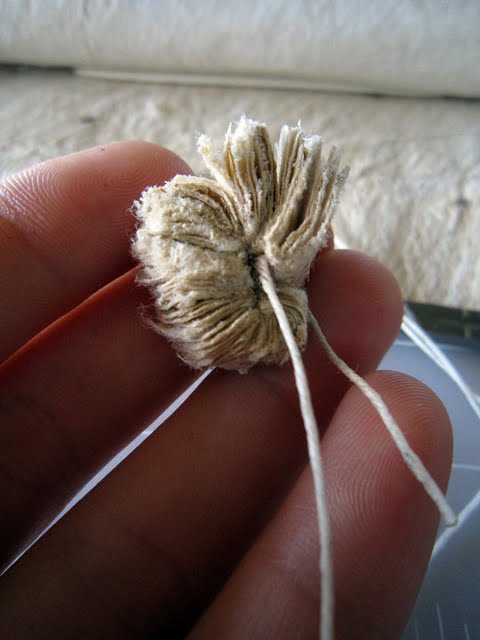
The seed thing below is used as a paintbrush. It is dipped in the koka dye, and the designs are then painted on the tapa cloth.


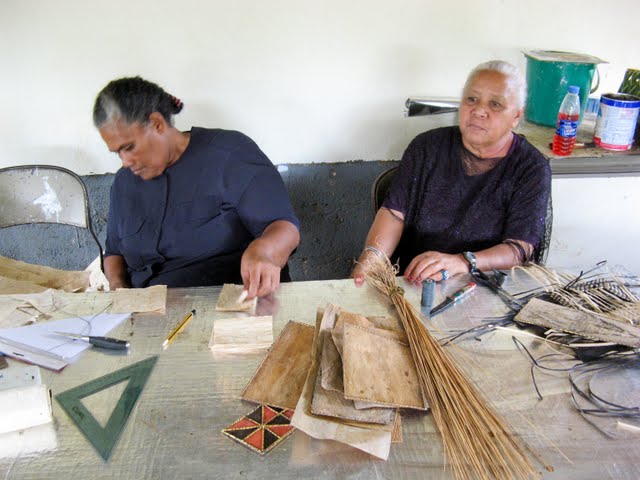
These women had obviously worked with tapa all their lives. They painted their designs very quickly and without any hesitation.
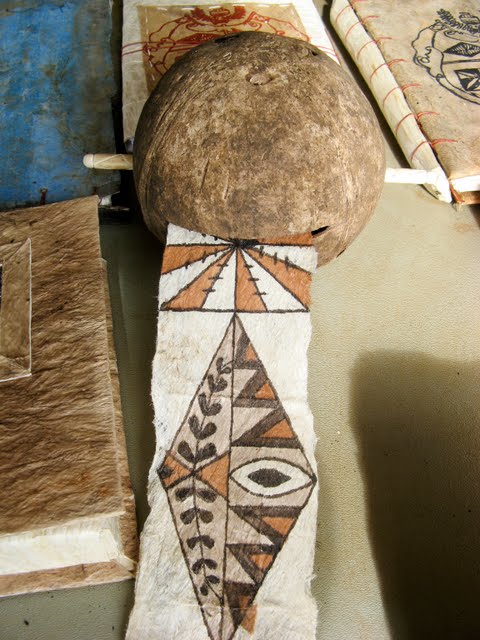
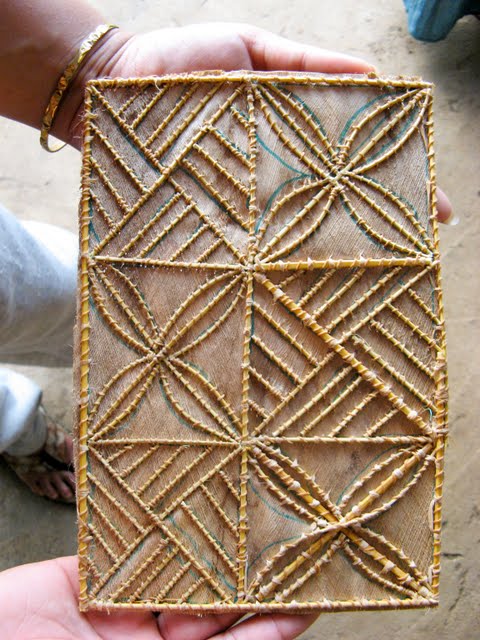
For special occasions or people or rank or special guests or ceremony etc, tapa cloths are laminated together with tapioca glue to make huge tapa cloths. When a large tapa is made, the stencil below is used to make a sort of template for the tapa design. The stencil is placed under the tapa, and ink is dabbed gently on top, the transferred ink effect is similar to a crayon rubbing.
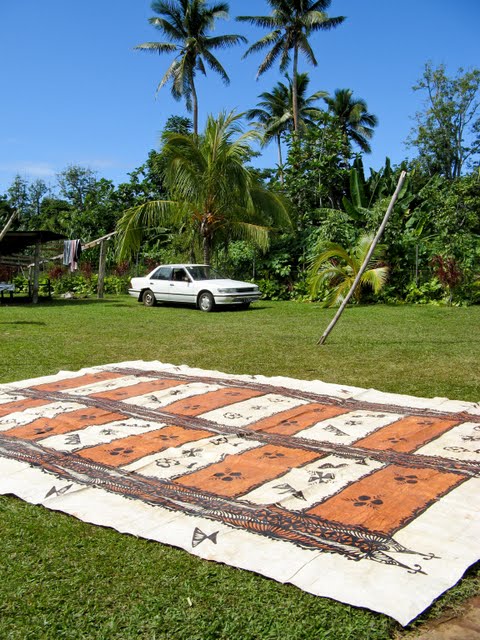
Here is a large tapa that was laid out for us to see.
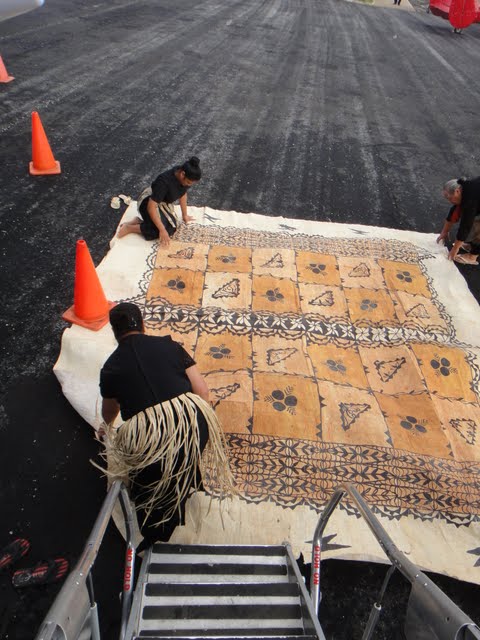
It was fun that we had just made the tapa and understood the process, because on our flight back from Vava’u to Tonga Tapu, the queen of Tonga was on Shannon’s and my flight, which explained why they were laying out a huge tapa outside the plane (for the queen’s boarding of the plane):
I didn’t get any photos of me and my friends Shannon and Jenny giving bookbinding demos. Go figure. But we made several fun little models and demonstrated how to put them together. We tried to stay basic but offer enough options to get creative juices flowing. Next up was printmaking techniques.
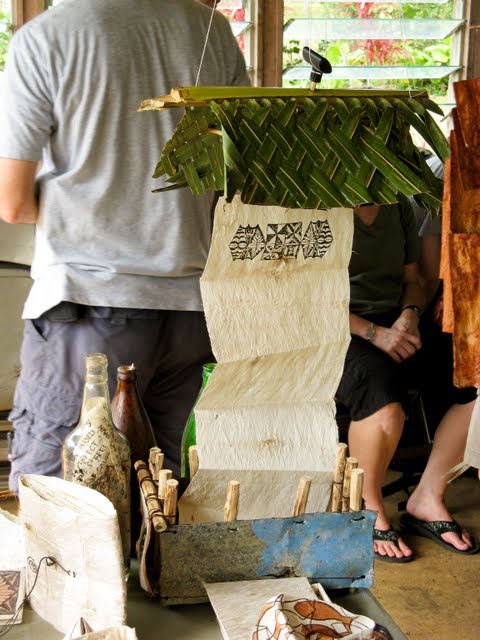
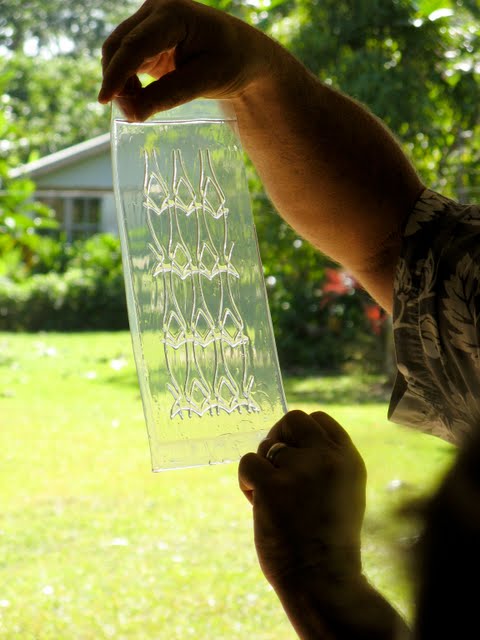
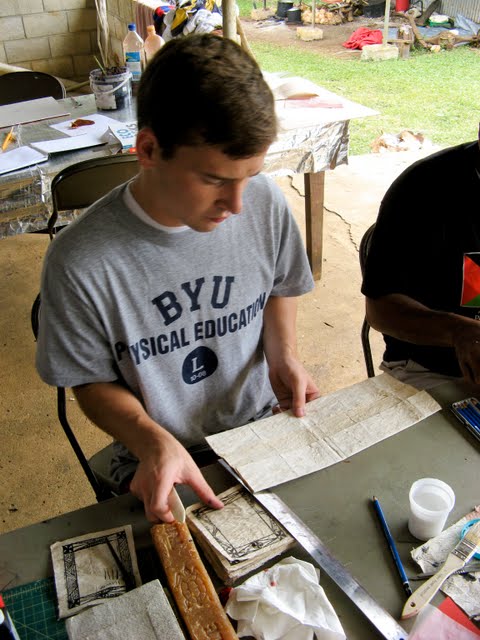
Jenny and Linda demonstrated how to make a photopolymer plate using a scratch board and the sun. They rigged up the contraption below to use as an exposure unit. (The design is Joe Ostraff’s)
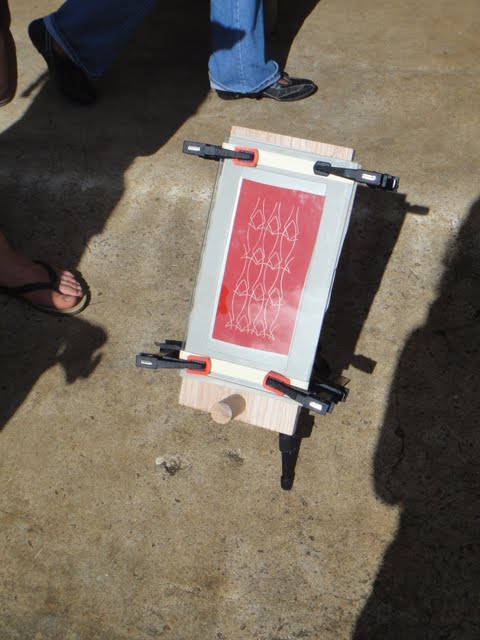
Processing (washing out) the plate:
I have to say it worked like a charm (as long as the sun was shining) ;) They had also brought a couple of those little to-it-yourself letterpresses/ kits that you can buy at the craft store, and the end result was not bad for do-it-yourself printmaking on a remote Tongan island (sorry I didn’t get any photos of the printing process, but some of the printmaking will show up in the post showing the finished books).
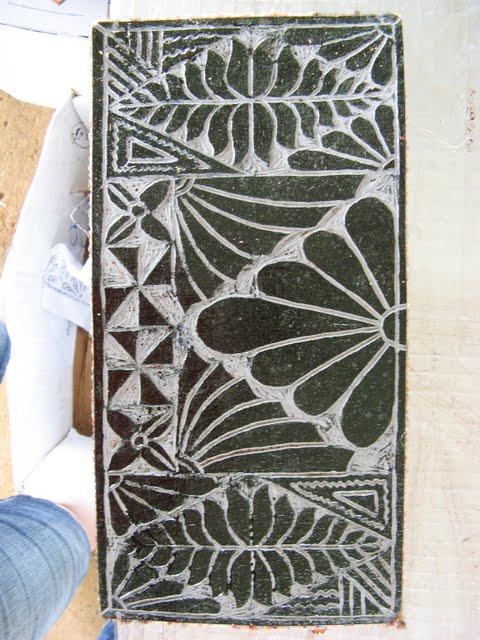
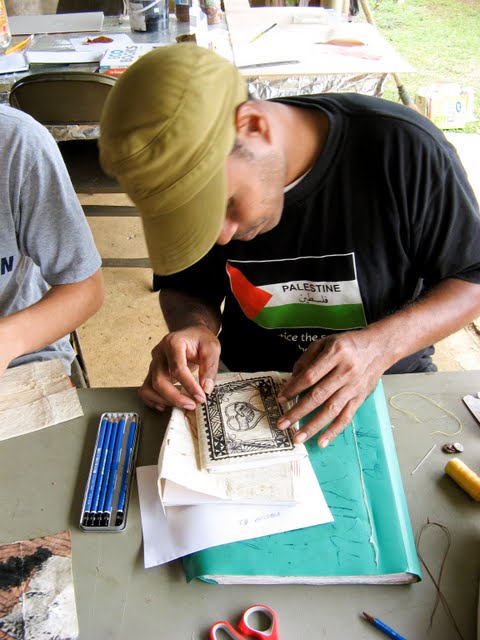
Our Tongan artist/instructor whipped up the linoleum carving below: (A bunch of us used it to make tee-shirts) :)
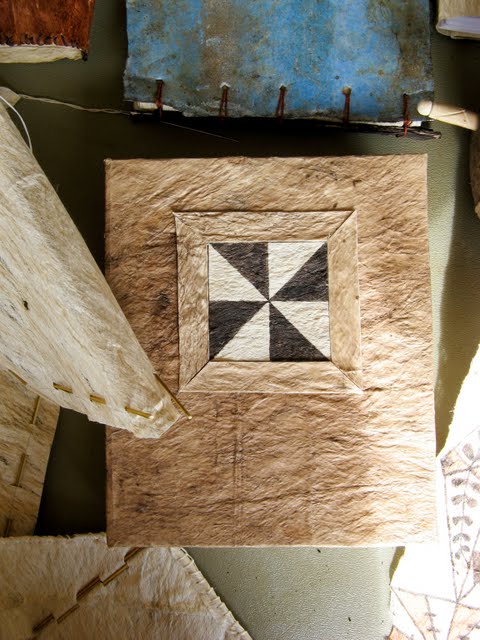
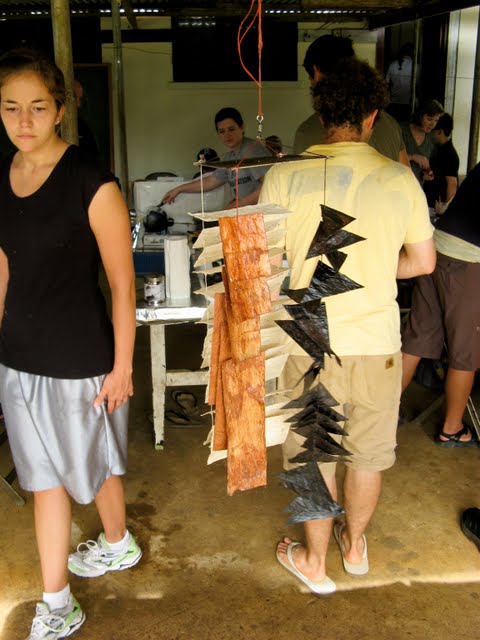
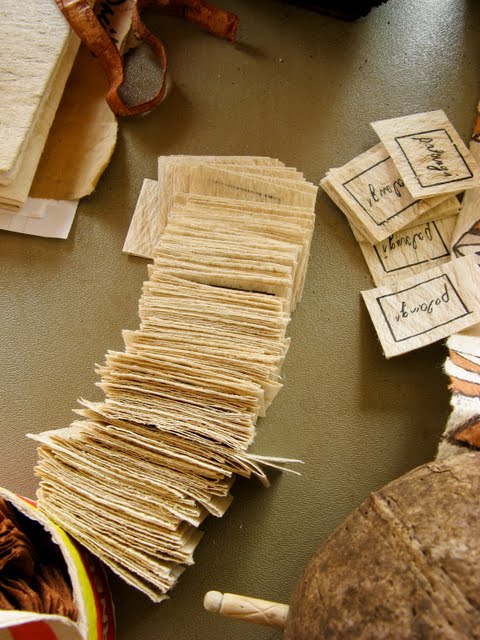
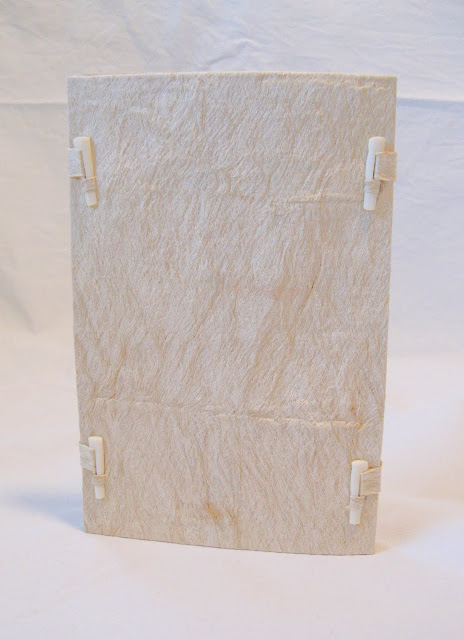
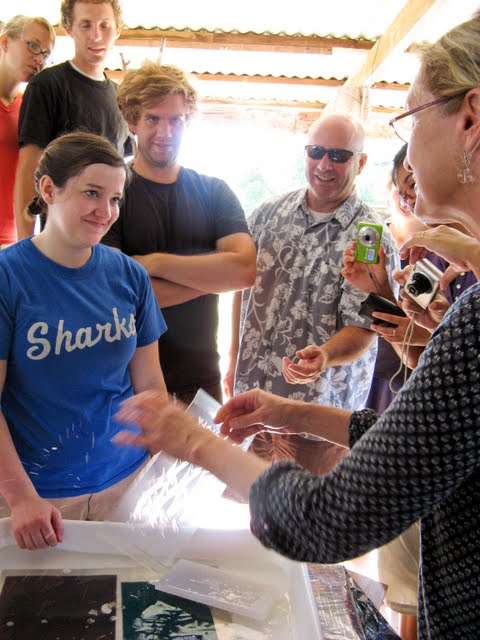
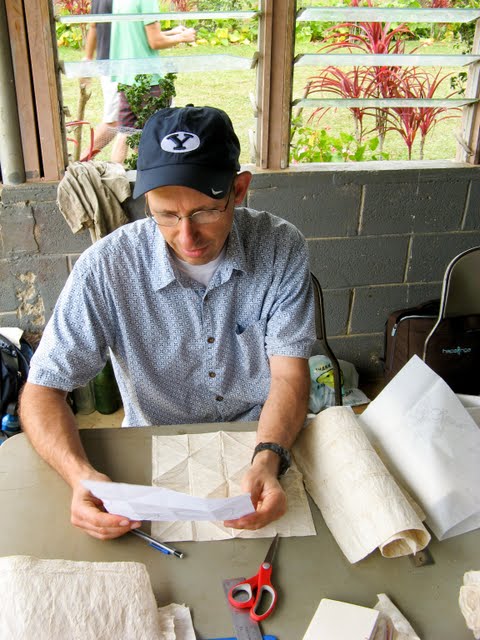
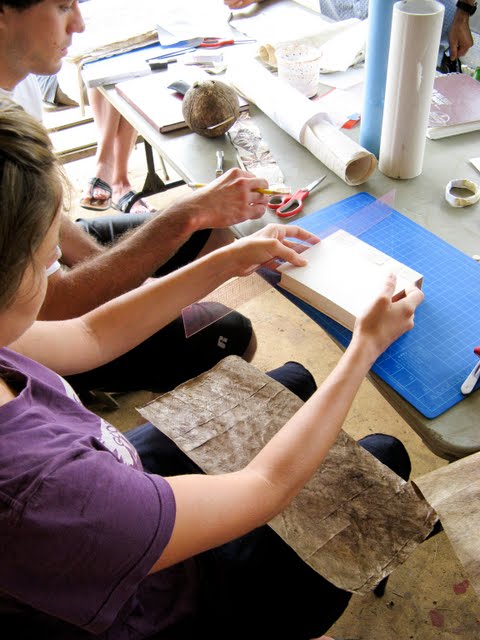
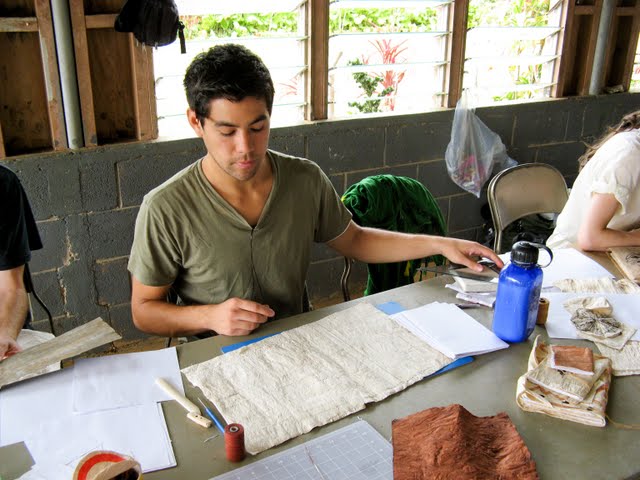
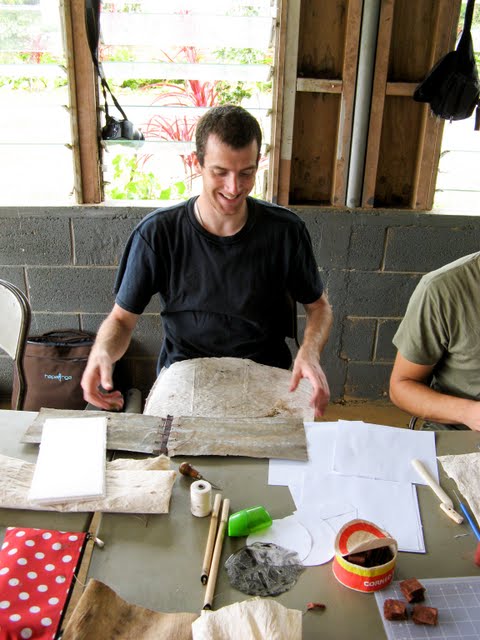
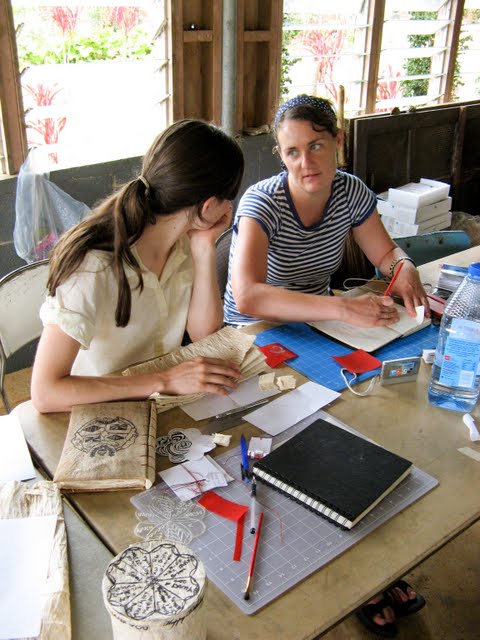
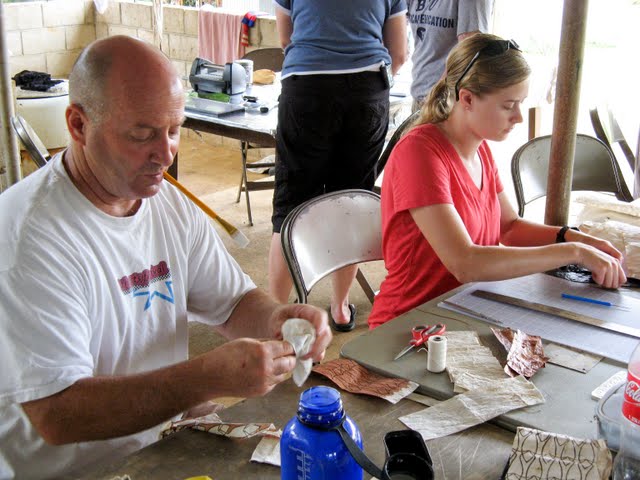
And finally we were ready to get down to the business of making our books. Below are photos of people hard at work.
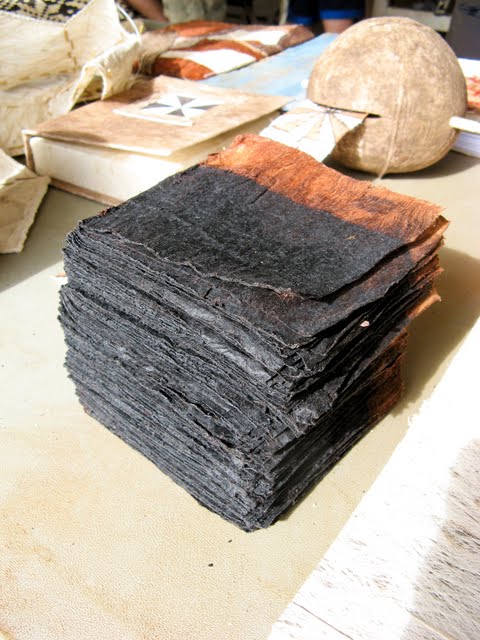
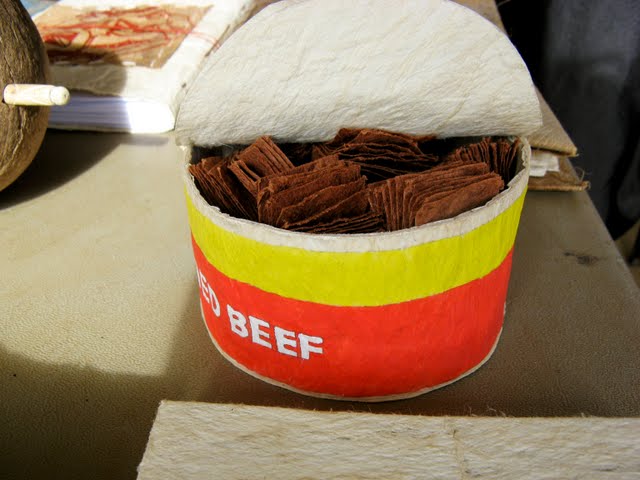
Ethan made his woven book cover out of snack chips packages.
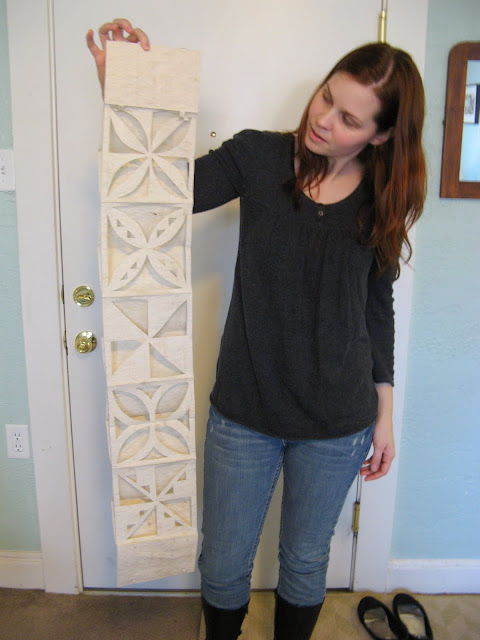
Maddison’s book was made by adding one folded tapa section at a time, the sections progressively growing. As they built up, it curled like a snail shell.

The next Tonga report post will show the final works of the artists. I’ll try to have it up soon. :)
Book Arts in Tonga part 1 / part 2 / part 3 / part 4
Book Arts in Tonga, part 1: Making tapa cloth and koka dye
Last summer I mentioned that I was invited to go to Vava’u, Tonga as a guest instructor and to participate in an artists’ book collaboration between the BYU Art Department and local Tongan craftspeople. I promised to report back. I didn’t forget… I’m just a slow-poke.
The point of the trip was to immerse American students into Tongan culture by staying with Tongan families and working side-by-side with Tongan craftspeople and artists (I think that perhaps all Tongans are craftspeople and artists–it seemed to me that all Tongans know how to make tapa cloth) to make Tapa Cloth, native dyes, and learn a bit about traditional Tongan design. Each participant would then create an artist’s book using the cloth and dyes we had made the previous week. But let’s just get to the photos, eh?

Day one started out by sorting suitable (bark? leaves?) for weaving a long snake-skin-like strainer for the bark/ink.

sorting.

Long thing strips of mulberry bark (the inner soft bark, not the outer bark) were soaked overnight, and then we were shown how to beat the mulberry with heavy wooden mallets. The bark is beaten, then folded, beaten some more, then folded again, and so on. When the bark is sufficiently wide, the whole thing is unfolded and the creases hammered out of the tapa. I took a short video of the beating process so that you can properly appreciate what our ears (and arms!) put up with for two days:

Notice how skinny Gary’s bark was in the photo above, and how it’s now been beaten nice and wide… It takes a lot of beating to get each one to that point.


Once it’s made, it’s hung to dry. I made this one (I was pleased with myself to complete one, but the Tongan women put us Americans to shame–some of our hosts made at least a dozen each).

Meanwhile, we were shown how to scrape bark from a koka tree to extract the dye. This tree will recover, but I was told that a koka tree’s bark can only be taken once during the tree’s life (or maybe it was once every several years. I don’t remember for certain).

As you can see, the koka tree bleeds red.


Progress on the weaving of the strainer for the dye (sorry I don’t know the Tongan word for this!).

Mixing the bark with water to help extract the dye.

Getting the bark ready for straining.

The weaving is wrapped around the bark and tied up tightly.


Then it’s hung by the two ends,

A beam is placed through the loop, and the dye is strained as the beam is twisted with a downward pressure. Here’s a video taken by my friend of the extraction:
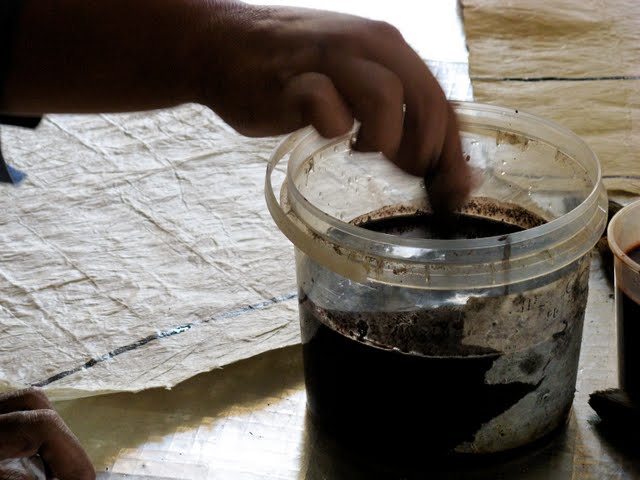
The ink is a reddish brown if used raw, and it some of it is also cooked to make a rich dark brown color.
There you have it, the making of tapa cloth and koka dye. Next we learned a bit of design, a bit of bookbinding, and then set out to create our books. But I’ll save that for another blog post (hopefully soon), since this took a while to write!
This past semester I had the privilege of teaching bookbinding at the University of Utah in their beautiful Book Arts studio. I had a lot of fun, and the students were terrific. Here is some of their work:
Coptic Binding:


Japanese Stab Binding and Chitzu:
I was a little bit stunned with the creativity of some of these students: During my demo I had the class sew mini books, almost like sewing cards, just so that they could see how simple the construction is, but I also wanted them to see how it’s possible to come up with your own sewing patterns. They seemed to take that challenge and run with it: Many of these sewing patterns are the students’ own designs:

this one and the photo below are the same books

reverse side


Flatback and Round Case:


Little Box:

Final Projects:
For their finals, the students wrote proposals of what they would like to make. Here were some of my favorites:


The cover to the above book is constructed of old shingles that the student had found. Kind of cool, but crumbly, and smelly, too ;)

Adorable little guy
I discovered this flickr photo stream some time ago, but I just love their bird photos so much… I want to do a series of watercolors based on them.

